Step 1: Go to expenses menu from the left side panel
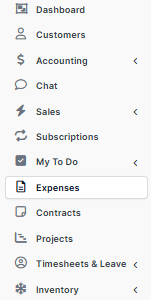
Step 2: Click on Record Expense

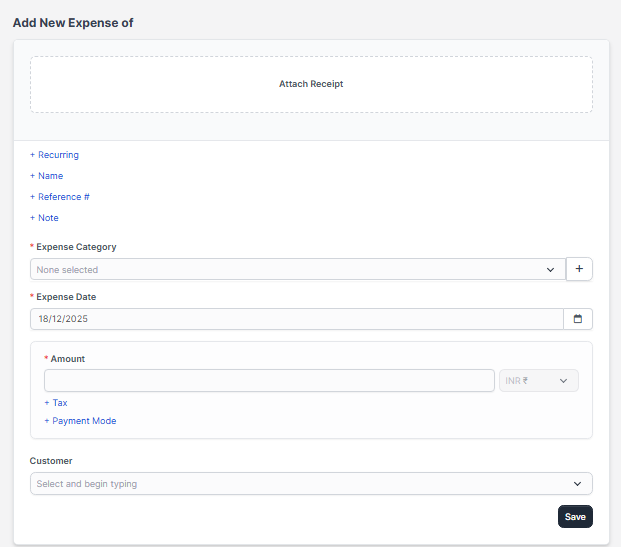
Step 3: Fill all the details about the expense in this page and select the category which it belongs to. And Click on Save
1.How to ADD Expense Category: ( JUST FOR ADDING CUSTOM EXPENSE NEW CATEGORY)
If you are adding new expense category which is not available then you can create it.
Step 1: Go to Setup from the bottom of the panel
Step 2: Click on option Finance from setup panel.
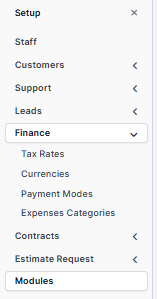
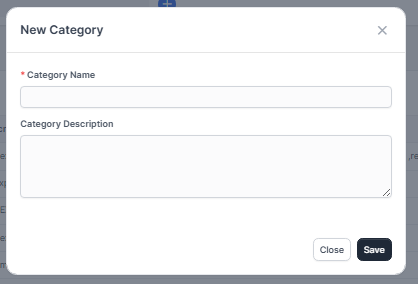
Step 3: Click on Expenses category, then click on New category

Step 4: In new category page fill out all the details.

2. Mapping of Custom Expense Category : ( this is for mapping expense category )
If you want to add a expense categories which are custom other than built-in categories and want to display those categories on reports then follow these steps.
Step 1 : First go to Accounting --> then click on Settings --> Account Detail Types
Step 2 : Click on Add,
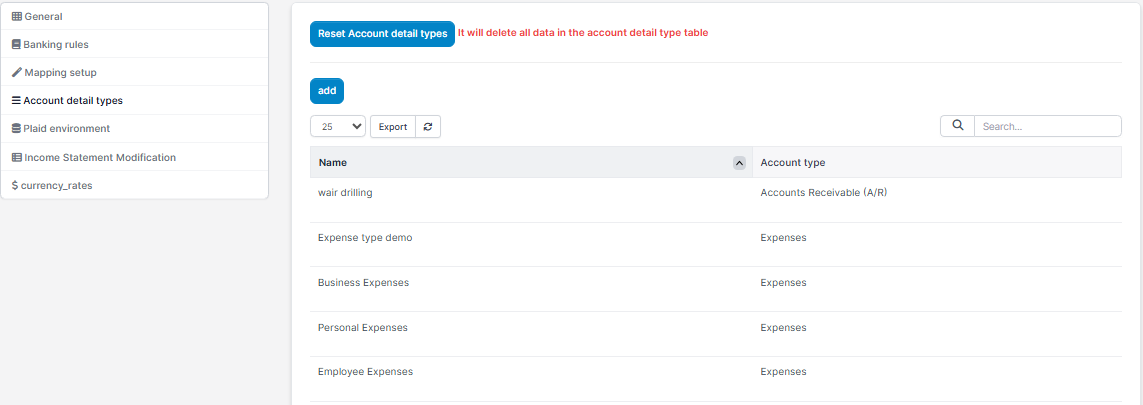
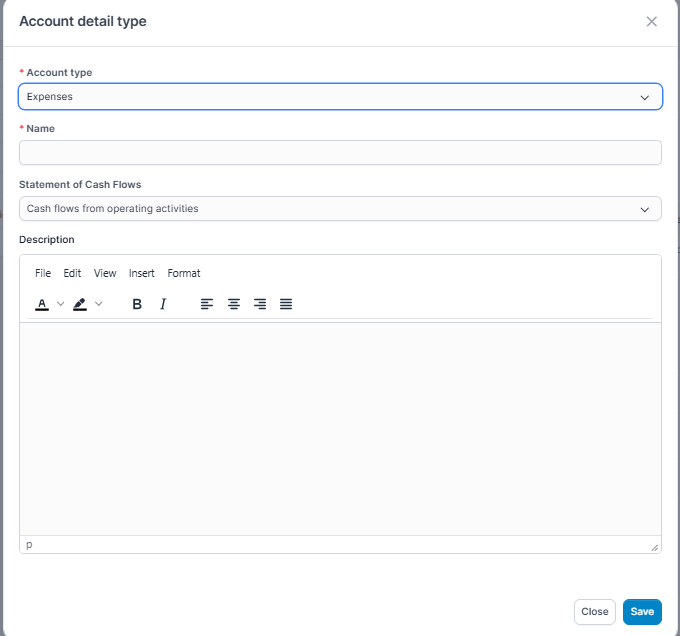
Account type : Select account type as Expense.
Name : Write a name of the new custom expense category.
Statement of Cash Flows : Select options from the dropdown.
Description : Add the description(if any), and click Save
3 . : Go to Accounting --> Chart of Accounts

Click on Add
Account Type : Select the Account type as Expense.
Detail Type : Select the detail type which you created.
Name : Enter the name. Click Save.

4. : Go to Accounting
--> Settings --> Mapping Setup
Go to Expense category mapping, and click add.

Add all the details
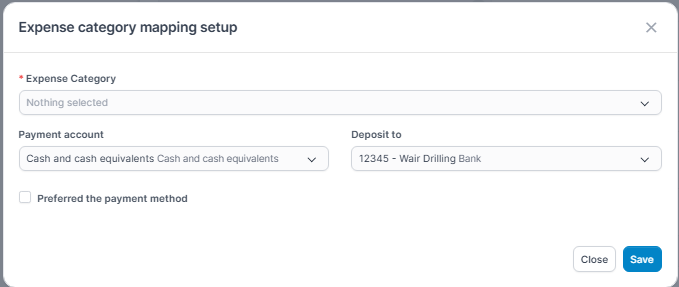
Expense Category : Select the category.
Payment Accounts : Choose the account.
Deposit to : Select the Account from the list. Click Save.
: Go to Expenses Menu --> Click on Record Expense to add expense.

Select the expense category which you created and fill out other details and save it.
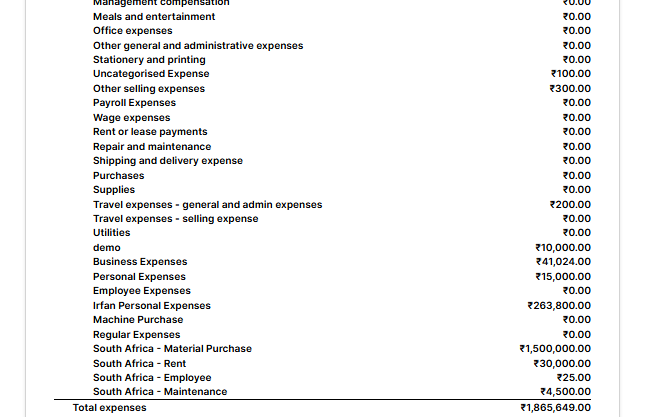
Then go to reports under accounting module, click on Profit and Loss report ,and you can see the Customized
Expense Categories.